Set up your Square for Retail POS device
About Square Retail POS devices
With Square for Retail (Free or Plus), you can sign in to the Square Retail POS app with your email address and password or use a device code. A device code allows you and your employees the ability to log in to any supported device and assign it to a specific location.
You can also create device profiles to save and reuse settings across multiple devices. A device profile is used to customize checkout, security, and add-on settings. Once you create a device profile, you can assign it to your devices to automatically apply the customized settings.
Before you begin
To set up a Square Retail POS device, you will need to have a Square for Retail Free or Square for Retail Plus subscription and access to your Square Dashboard. Learn more about subscription features and how to sign up for Square for Retail. You will also need to have a device or Square hardware compatible with Square for Retail. View compatible devices and hardware.
Learn more about adding devices remotely and creating device profiles with Square Remote Device Management.
Step 1: Create a device code
Sign in to your Square Dashboard and click Settings > Device Management > Device codes.
Click Create and specify the kind of device you’re adding.
Select which application this device will use.
Select the location where this device is used and click Next, if applicable.
Enter the device code name and click Create. If applicable, set an owner passcode and click Next.
Follow the steps to sign in on your device using the device code listed.
Click Copy to copy your device code. Click Send to share your device code via email or phone number.
Click Done.
Step 2: Create a device profile
Sign in to your Square Dashboard and click Settings > Device Management > Profiles > Device Profiles.
Click Create.
Select a Square for Retail application.
Enter the device profile name.
Click Save to view your new device profile.
Step 3: Customize device profile settings
Sign in to your Square Dashboard and click Settings > Device Management > Profiles > Device Profiles.
Click on a Square for Retail device profile to view the details.
Under Settings, click Manage next to Square for Retail.
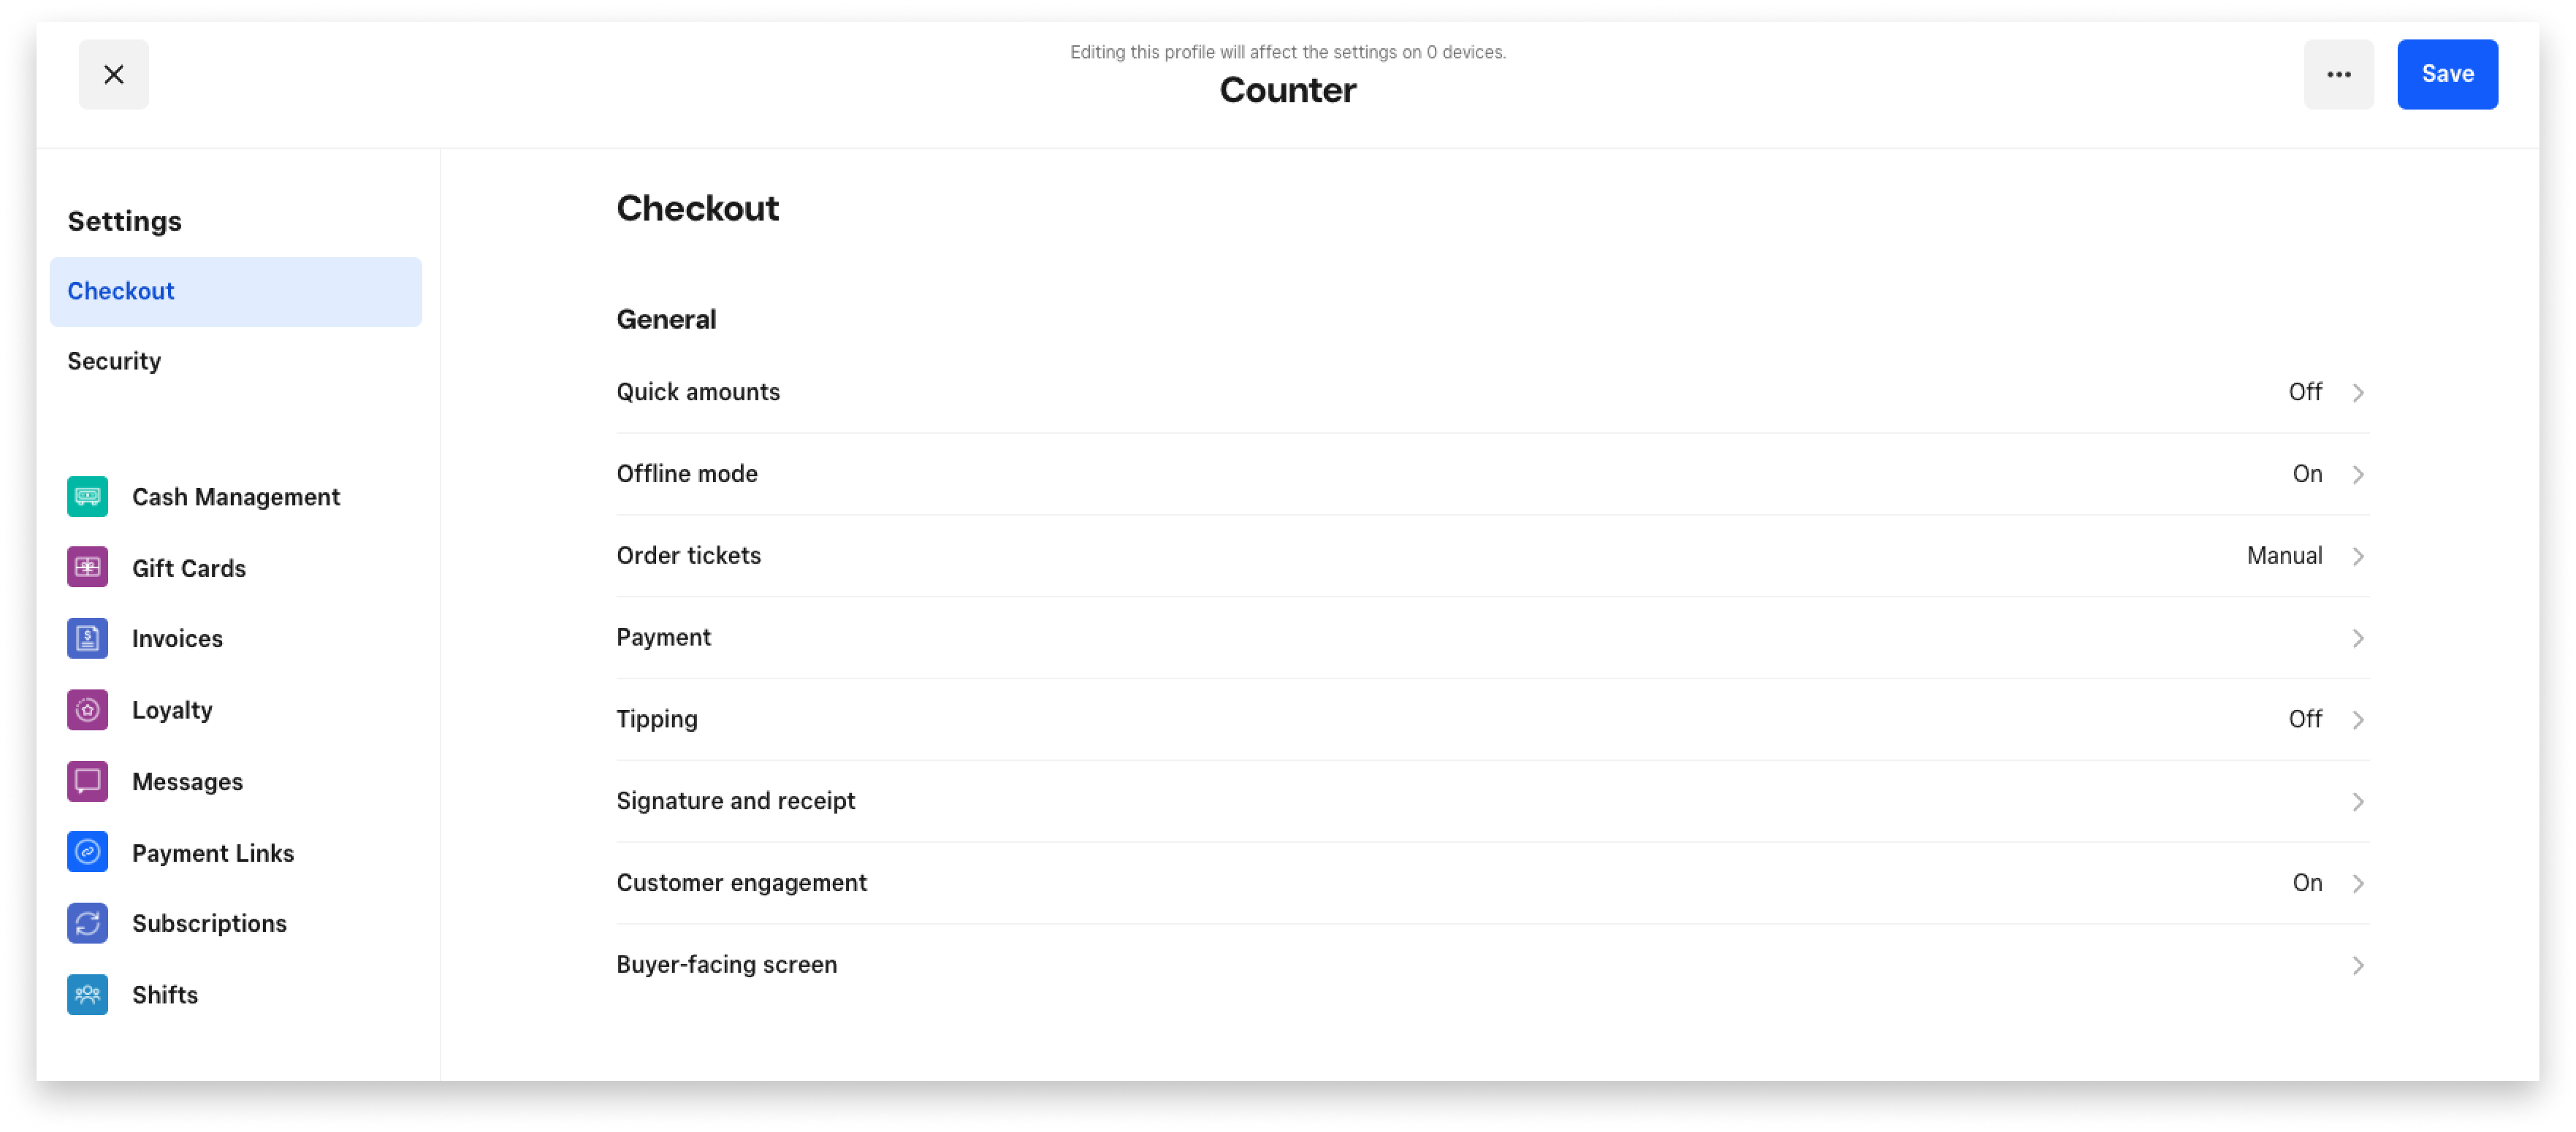
Click Checkout, Security, or select an Add-on from the list.
Make changes to your settings and click Save.
Checkout settings include the following customizable options:
- Quick amounts: Select Smart amounts, Manual amounts, or turn on/off.
- Offline payments: Turn on/off offline payments to accept payments when your internet service in unavailable. You can accept Offline Payments when your internet service is temporarily unavailable or if Square services are temporarily down. Offline payments are processed automatically when your device regains connectivity. Offline payments will expire and the funds will not be received from your customer if they are not uploaded within 24 hours. Terms and conditions apply.
- Order tickets: Turn on Auto-assign ticket numbers or Enter a custom number or name.
- Payment: Turn on/off Skip review sale and select your Main payment types, More payment types, and Disabled payment types.
- Tipping: Turn on/off Collect tips and select tipping settings. When tipping is enabled, your customers can add a tip to their purchase. You can choose whether to add tipping options to the signature screen or display them on a separate tipping screen. You’re also able to pick between suggested smart tips amounts or percentage amounts, and give your customers the option to enter a custom tip.
- Signature and receipt: Turn on/off Collect signatures and select settings. Turn on/off Skip receipt screen. The receipt options give you control over how and when your customers sign for their purchases. You can decide whether you want your customers to sign printed receipts or directly on the point of sale, and whether you wish to require a signature for all transactions or only those exceeding a purchase total of $25.00.
- Customer engagement: Select customer engagement settings, like Before checkout or After checkout and Save a card on file. Collect customer information to build history and relationships with your customers. Enable this setting to add a screen after checkout to invite customers to sign up for your mailing list.
- Buyer-facing screen: Select Buyer-facing settings.
Click the back arrow (<) to return to the main Settings page and click Save after you are done customizing your settings.
Security settings include the following customizable options:
- Passcodes
- Team passcode
- Require passcode
Add-ons are listed below and include the following customizable options:
- Checkout
- Installing Add-ons (+)
- Cash Management: This setting allows you to manage a cash drawer — including tracking cash added or removed from the cash drawer outside of your transactions or refunds. This would make the Add Paid In/Out feature available on the More menu of the Square Retail app, regardless of which version you’re using (Free or Plus). You can set a default starting cash amount, and customize settings so that a cash report is printed once the cash drawer is closed or automatically sent to the email address of the team member provided.
- Gift Cards
- Invoices
- Loyalty
- Messages
- Square Online
- Open Tickets
- Payment Links
- Buyer Subscriptions
- Team Management
- Text Message Marketing
Step 4: Assign a device profile
Sign in to your Square Dashboard and click Settings > Device Management > Profiles > Device Profiles.
Click on a Square for Retail device profile to view the details.
Click Edit next to Assigned devices.
Select the devices you'd like to assign the device profile to. The customized device profile settings will automatically apply to the selected devices.
Click Save.